Filling Out A Form With Repair Requests – Web Application
Filling out a form that supports the Repair Request Workflow follows the same steps as filling out any other type of form.
To fill out a form with Repair Requests:
- Select a form to fill out.
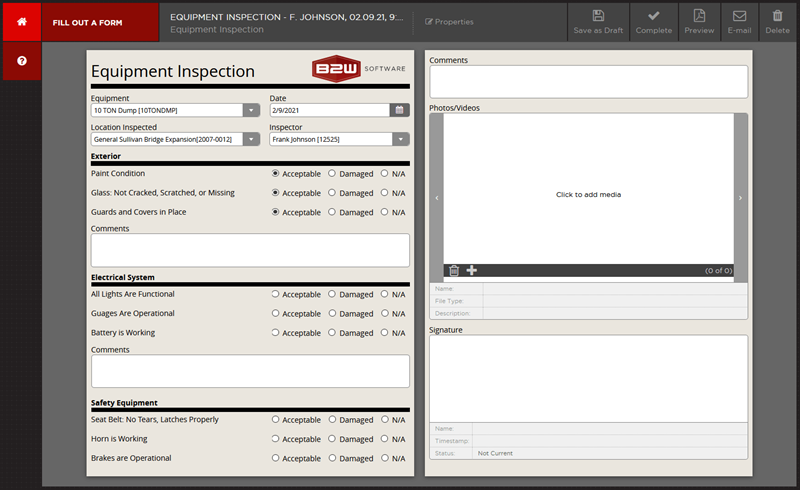
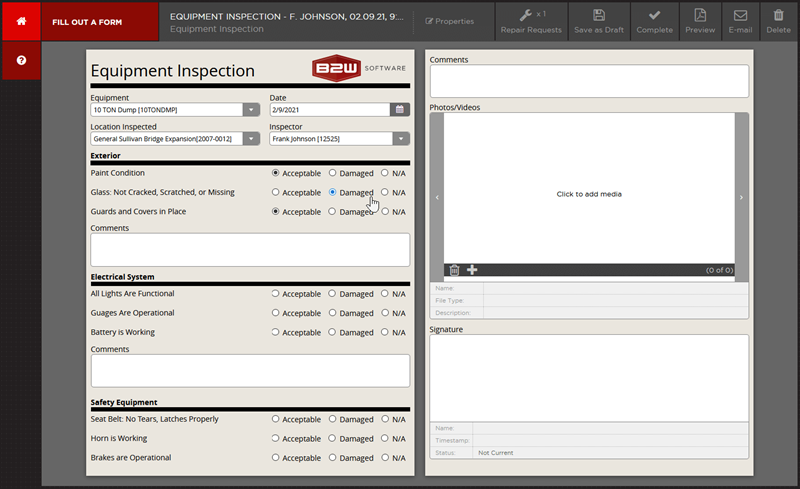
- Fill out the form. When criteria on the form meets conditions to generate a Repair Request in B2W Maintain, you will see a new icon on the toolbar, showing the number of Repair Requests that will be generated. This icon will be read only until the form is completed or submitted.
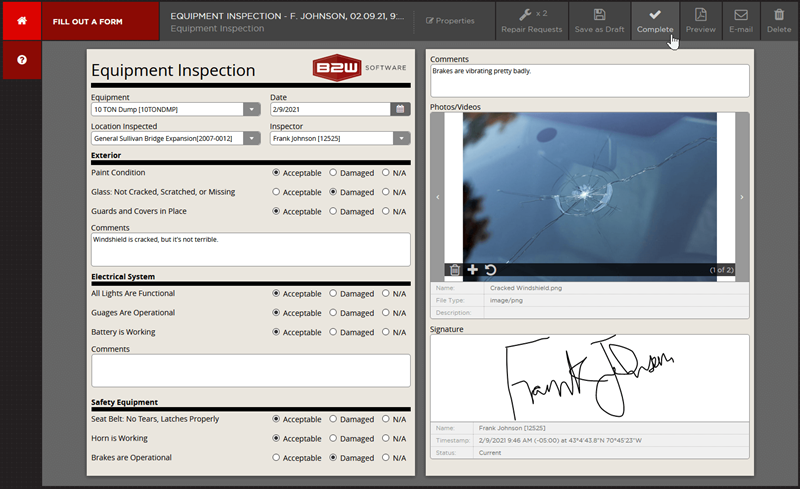
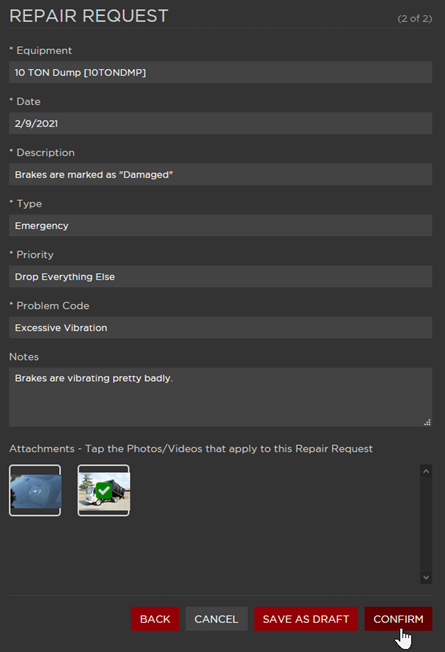
- Once you have finished filling out the form, click the Complete/Submit button and the Repair Requests dialog will be displayed. Fill out any additional information that is required for each Repair Request.
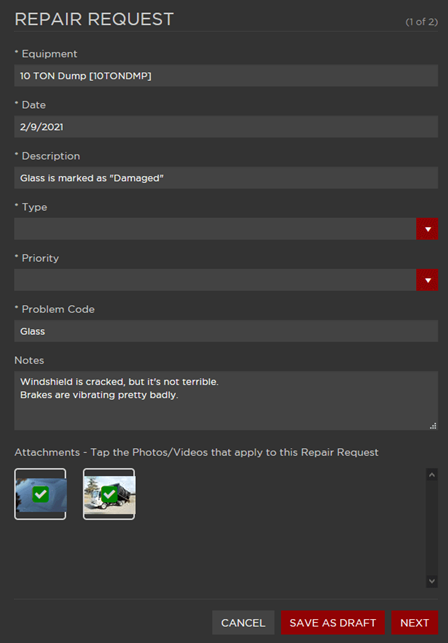
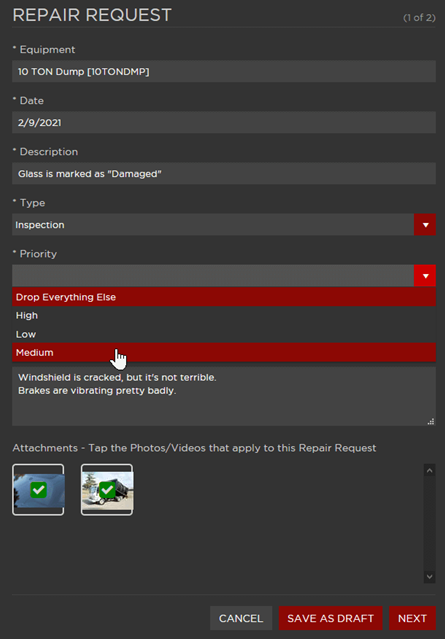
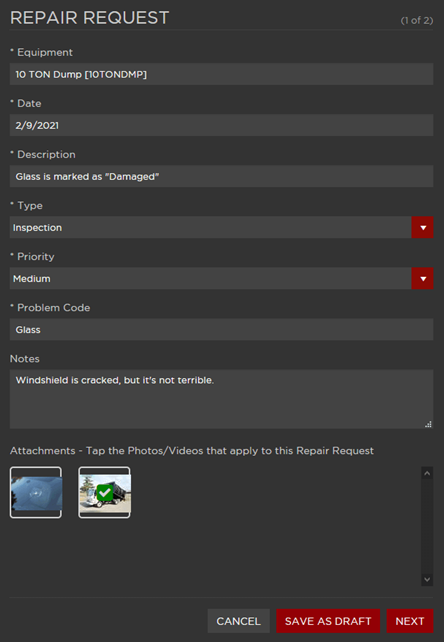
Repair Request Field Definitions
- Equipment, Date, and Description will be auto populated into the dialog from the form.
- If Type, Priority, and Problem Code (if visible), have dropdowns, please select the appropriate value from the dropdown list.
- If any of these fields are not editable, these were pre-selected in the template and you do not have option to edit them.
- Notes – Any notes that are on the form and are configured to display on the Repair Requests dialog will appear in this notes field. Notes are editable from one Repair Request to the next. Or, add entirely new notes if there are no notes auto populated from the form into the field.
- Attachments – Select Photos and Videos Attached to the Form. All attachments that were attached to the form will be displayed here. Tap the trashcan icon to exclude the attachment from the Repair Request you are on. Tap Select Attachments from Form to include any attachments that are on the form with your Repair Request.
- Take Additional Photos/Videos – If this option is available, you can take additional photos and videos and attach them to individual Repair Requests.
Repair Request Dialog Navigation Buttons
- Cancel – Click this at any point to cancel any changes you made to the Repair Request dialog and return to the form.
- Save as Draft – Click this to save any changes you made to the Repair Request dialog as a draft and return to the form.
- Next – If you have multiple Repair Requests, click Next to go to the next Repair Request. You will not be able to go to the next Repair Request until you have filled out all required fields for the current Repair Request.
- Back – If you have multiple Repair Requests, click Back to return to the previous Repair Request.
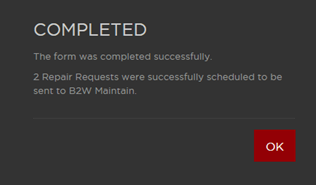
- Confirm – This button always appears on the final Repair Request. Click Confirm to complete/submit the form and send all Repair Requests to B2W Maintain.
Viewing Repair Requests in B2W Inform After Being Sent to B2W Maintain
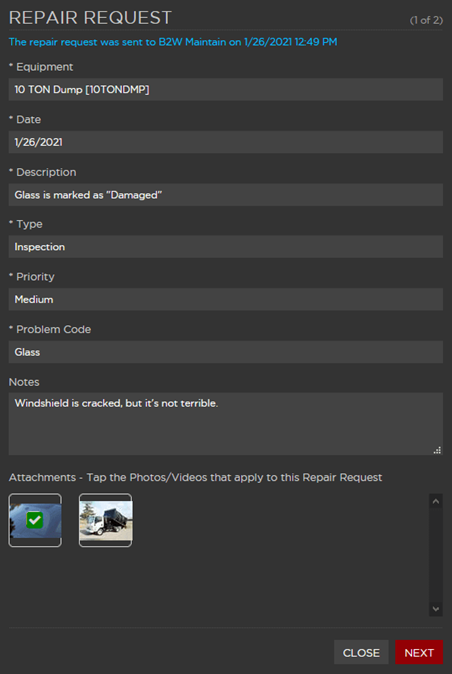
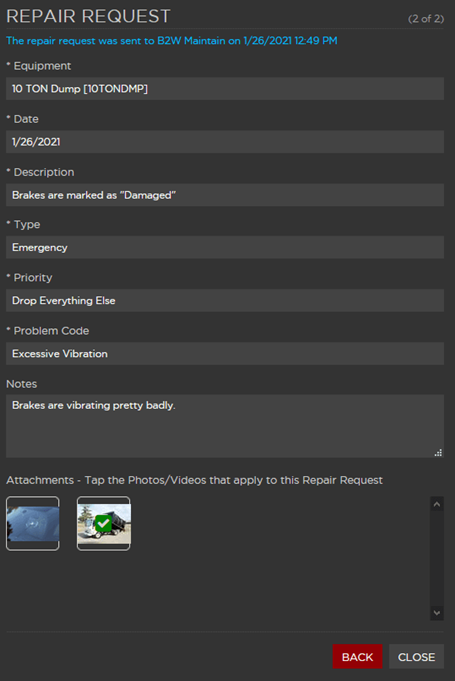
You will be able to access read-only views of Repair Requests by clicking on the “Repair Requests” button in the toolbar when viewing at a form. For each Repair Request, this will display the date and time of when it was sent to B2W Maintain.
Form Listing Page
For each form on the Form Listing page that has Repair Requests, you will the total number of Repair Requests for a form.

Viewing Repair Requests in B2W Maintain
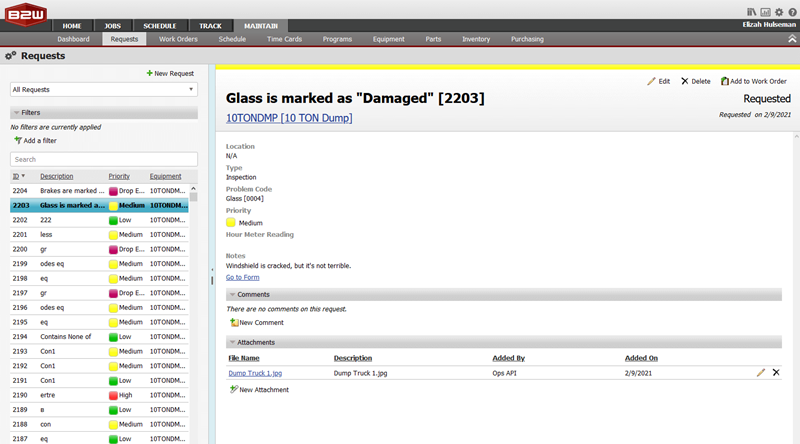
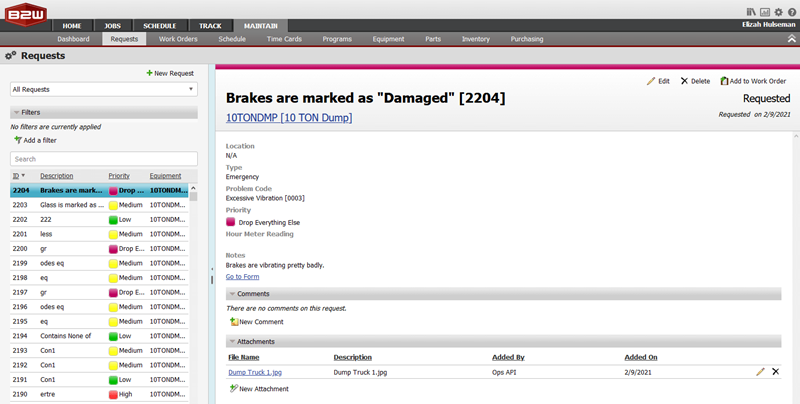
Repair Requests from B2W Inform will be found in the Repair Request area in B2W Maintain with all the data that was populated in the Repair Request dialog.
Each Repair Request in B2W Maintain will also have a link to the form in B2W Inform that triggered said Repair Request.
